Jack O’ Lantern hacks
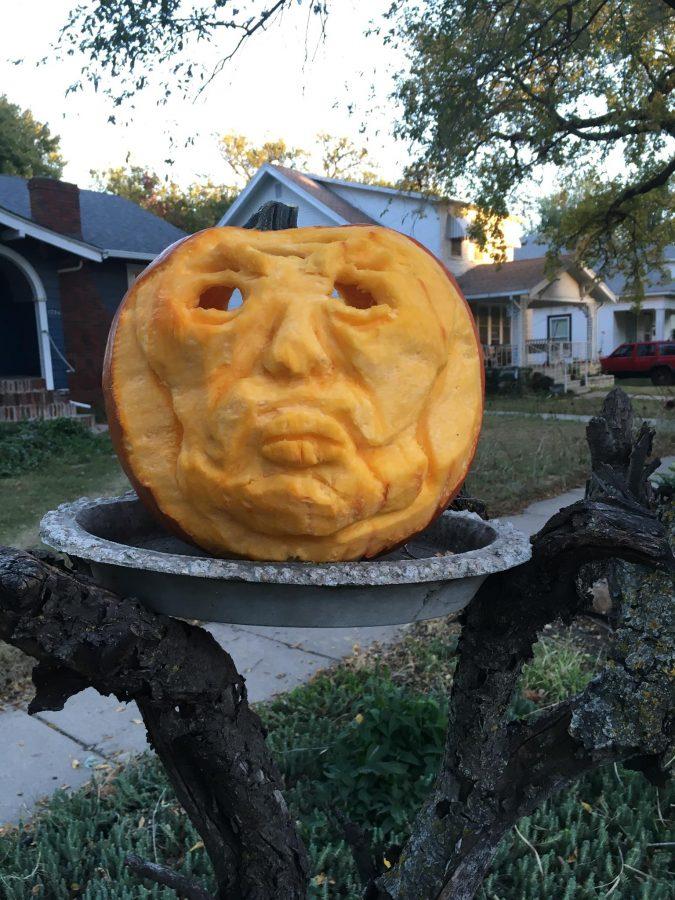
Whether you spend hours carving intricate faces on your jack-o’-lanterns or opt for the standard triangles and a toothy grin, pumpkin carving is an essential fall activity. Regardless of your level of expertise, everyone could use a few tips to get the most out of their jack-o’-lantern experience from choosing the perfect specimen to making their masterpiece last.
Picking Pumpkins
Not all pumpkins are created equal, and knowing what you are looking for ahead of time is a must. Before you hit the patch or your preferred produce market, you should have a design in mind. The wrong pumpkin can foil even your most creative design. Good luck fitting Frankenstein’s hulking profile on a short, squat specimen.
Beyond the aesthetics, you should also make sure your jack-o’-lantern canvas is healthy and of high quality. Steer clear of pumpkins missing stems, a telltale sign they have been mishandled. Also be sure to tap on the side of your prospective pumpkin. A dull, solid noise indicates that it is too fresh to be cut into. If it sounds hollow, it’s ready to be carved.
Carving Tips
Once you get your pumpkin home, the real fun begins. Well, not until after you gut it. Most jack-o’-lantern lids are cut from the top, but removing a portion of the pumpkin from the back to clean out the goop can keep the stem attached to the fruit for better longevity and opening up future lighting options.
For real carving connoisseurs, a standard knife just won’t cut it when it comes to the jack-o’-lantern tool kit. Metal loop tools used in pottery work great for shaving off skin and creating contrast, and a lemon zester adds terrifying texture from realistic hair to sinister wrinkles. Using a cookie cutter and mallet to effortlessly cut out intricate shapes can also up your carving game and guarantee your pumpkins will stand out from the pack.
Presentation
Tragically, the beauty of pumpkin art is fleeting, and unless rotting and sagging add to your jack-o’-lantern’s look, don’t expect it to last more than several days in top condition. However, if you simply can’t hold off carving until a few days before Halloween, there are in fact several age-defying tricks to keep your jack-o’-lantern fresher for longer.
The second a pumpkin is cut, it begins to lose moisture. Applying a layer of petroleum jelly to cut surfaces can help it to hold in all the moisture possible. Additionally, spritzing the jack-o’-lantern with water periodically can perk it up considerably even after it has been sitting for days.
Lighting can also contribute to your pumpkin’s lifespan. Candles quickly dry pumpkins’ inside, and electric lighting works better if you want your creation to glow on multiple occasions. If you do decide to use a candle, be sure to put a pinch of cinnamon in your jack-o’-lantern so observers can enjoy not only your handiwork, but also the smell of pumpkin pie.

Matthew Kelly is a former editor-in-chief and managing editor for The Sunflower. Kelly graduated in 2020 with a bachelor’s degree in political science...